
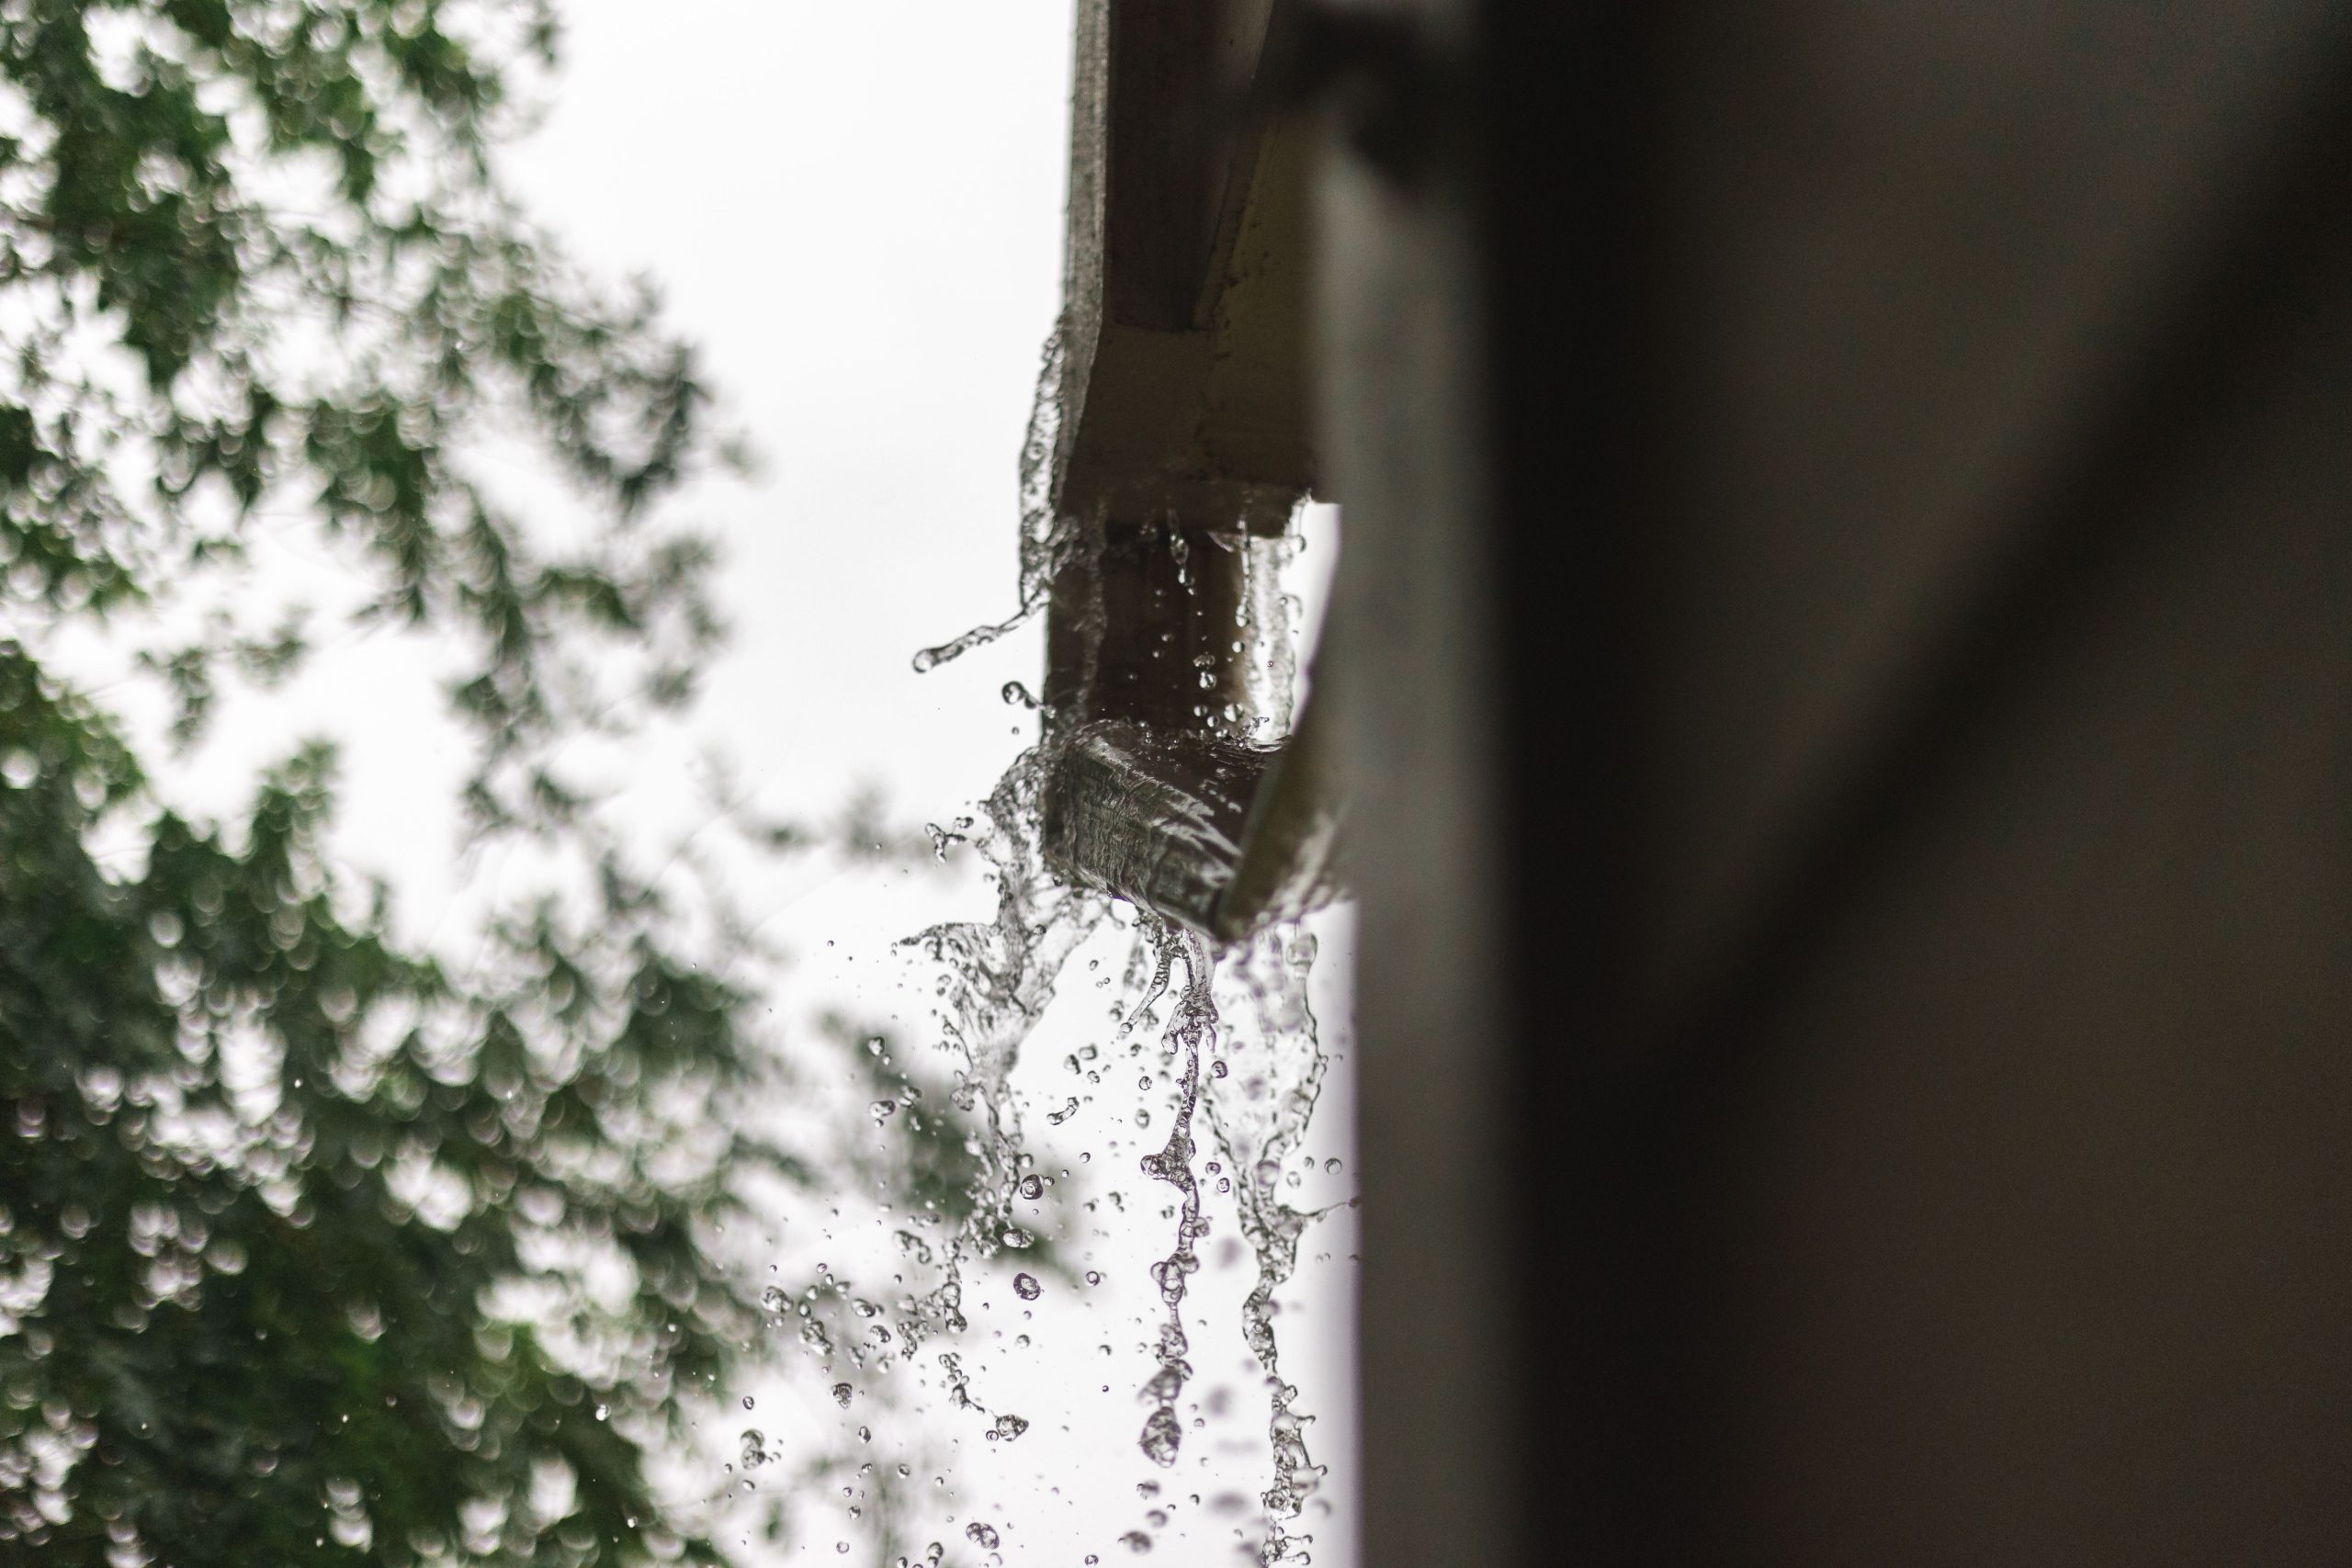
Sheds, barns, workshops, garden offices, and decks take a constant beating from rain, snow, humidity, and soil moisture. Most of the damage does not come from one dramatic storm. It builds slowly through small leaks, trapped water, and wood that never gets a chance to dry out. The good news is that most of this damage is preventable with a clear order of work and a bit of regular maintenance.
Table of Contents
Why Weather Damages Outdoor Buildings
Water is the main enemy of any outdoor structure. It causes damage in several ways, and each one calls for a slightly different defense:
- Liquid water enters through gaps in roofing, cracked caulk, and poorly flashed joints.
- Wicking pulls moisture up from soil and concrete into wood and masonry at ground level.
- Condensation forms inside walls and roofs when warm, humid air meets cold surfaces.
- Freeze-thaw cycles widen small cracks as trapped water expands and contracts.
- UV exposure breaks down unprotected wood fibers and paint, which then lets water in more easily.
Once moisture is trapped, mold, rot, rust, and insect activity follow. The goal is to shed water quickly, keep wood dry, and let anything that does get wet dry out again.
Start With the Roof and Gutters
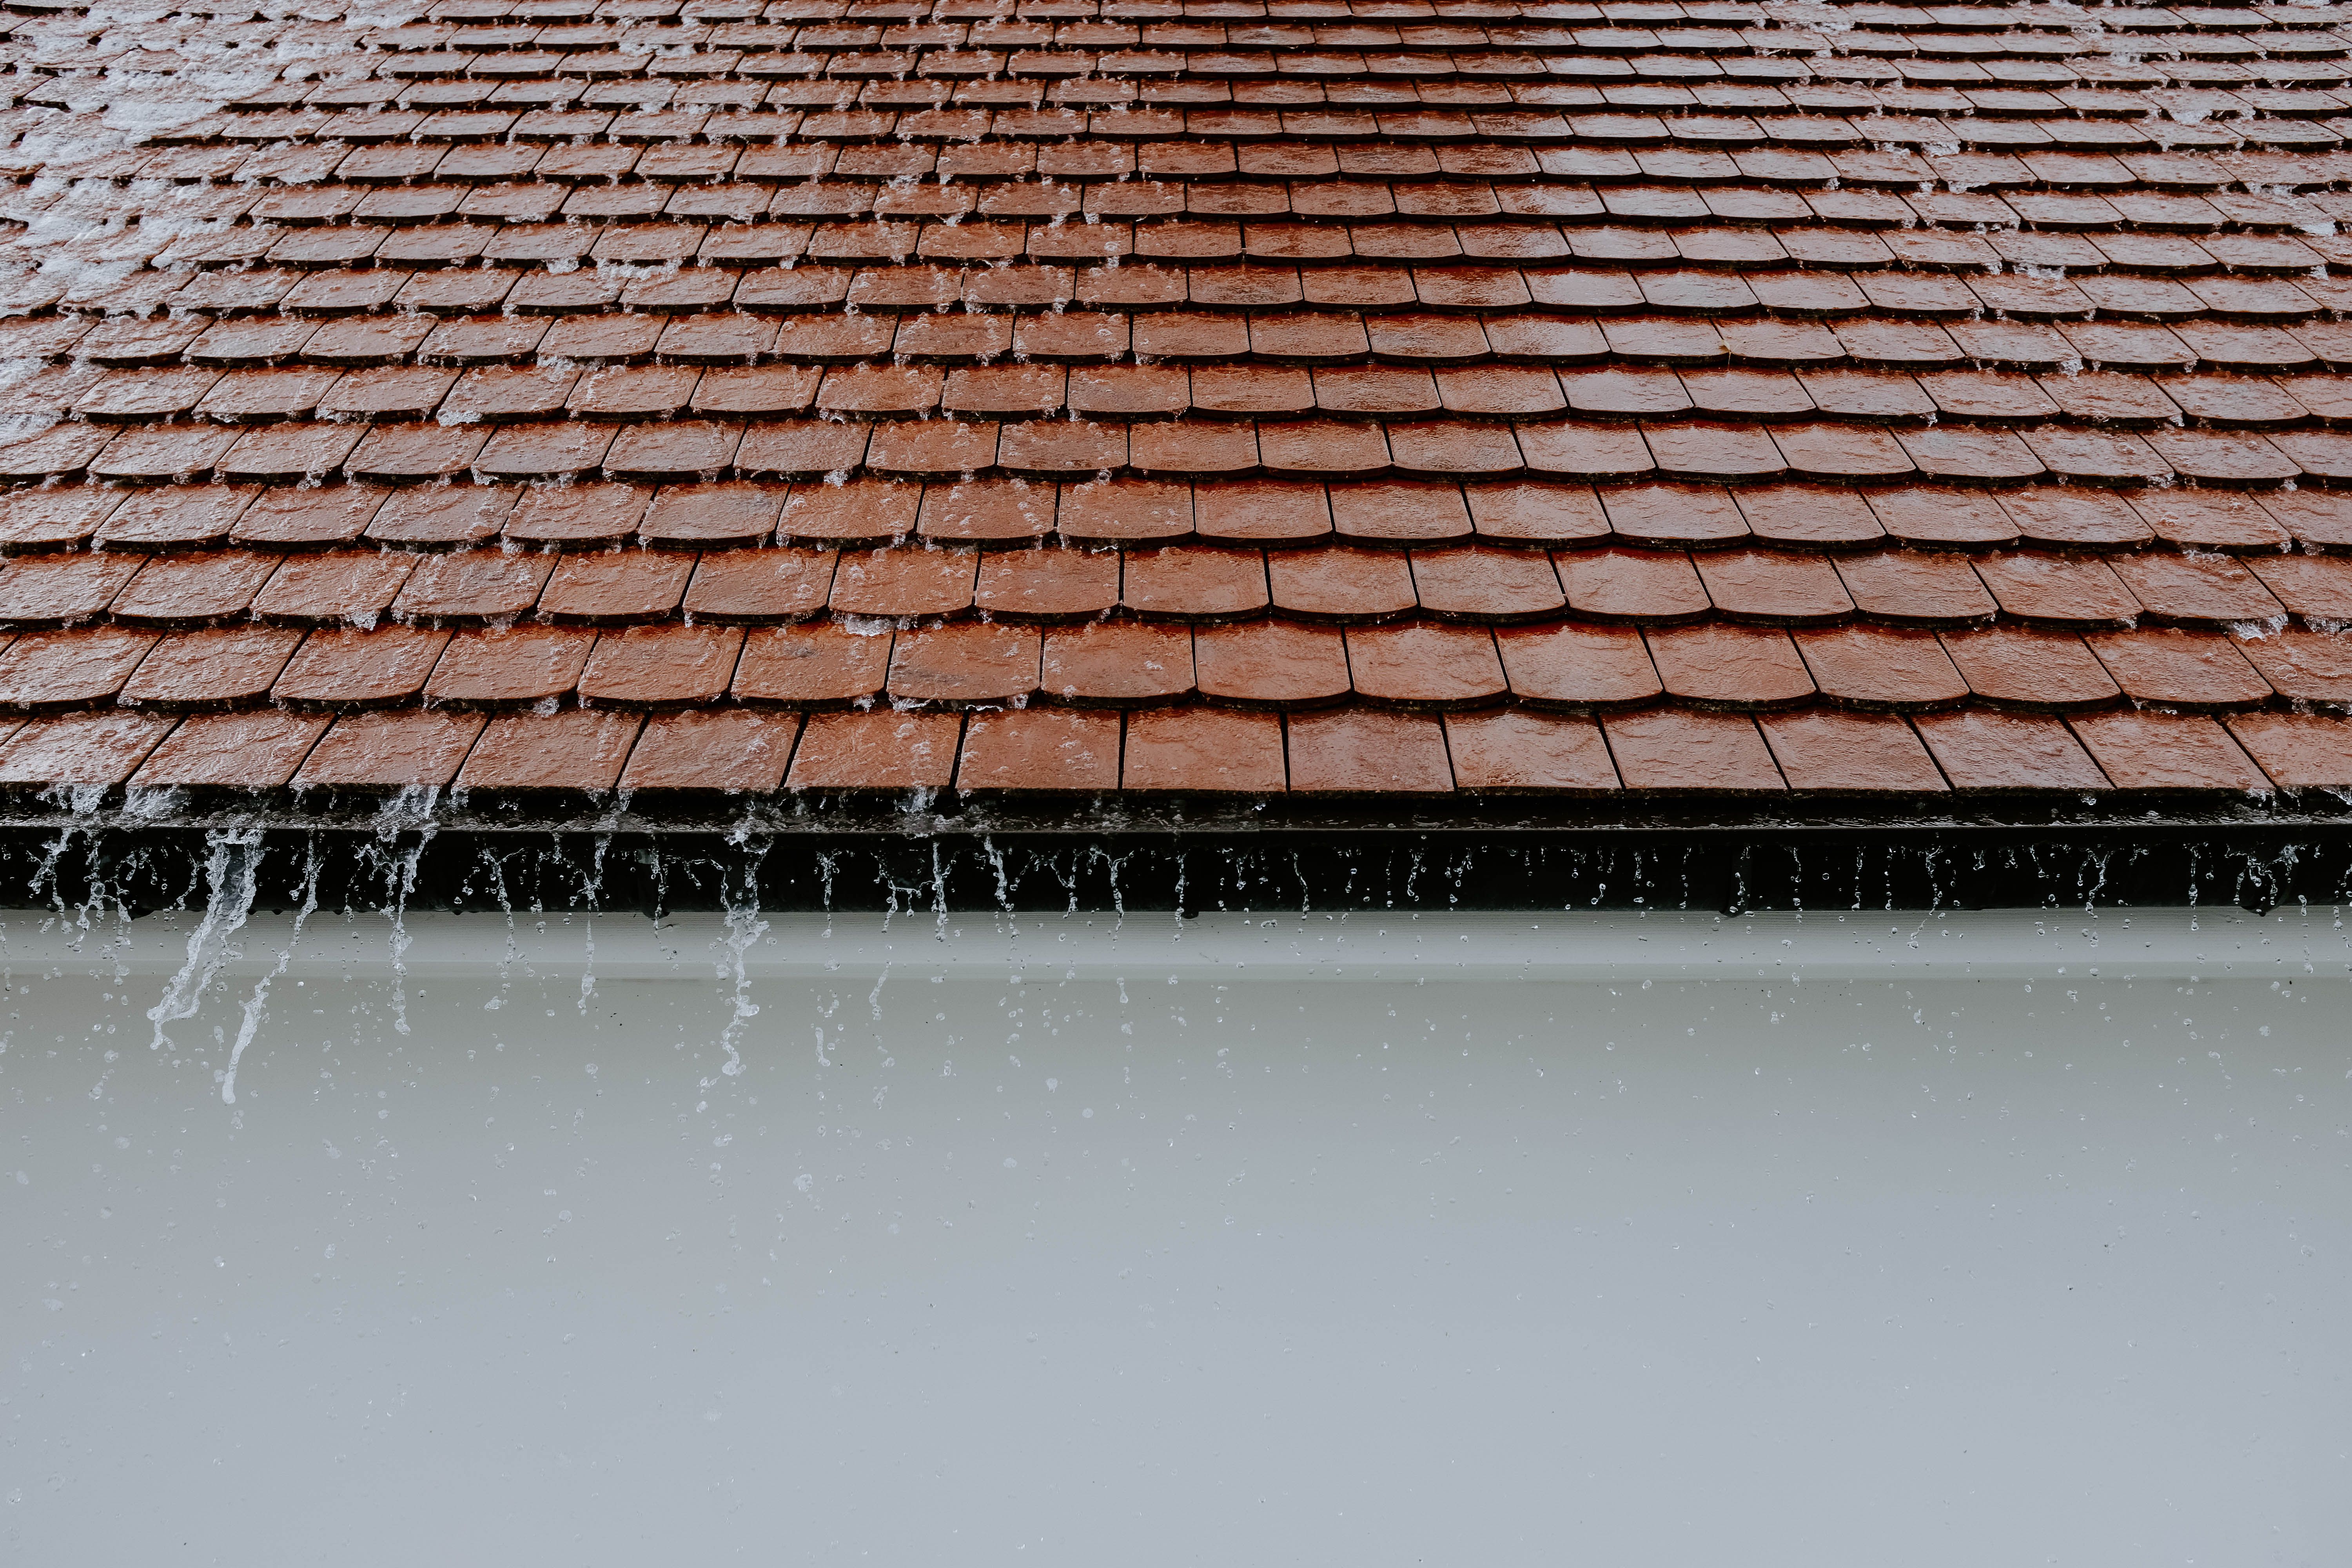
The roof sheds the largest volume of water, so it is the first line of defense. Check roofing for cracked, lifted, or missing shingles and tiles after every severe storm. Pay special attention to valleys, chimney bases, and vent penetrations, because these are the most common leak points.
Gutters matter just as much. A blocked gutter overflows onto fascia boards and siding, and it can soak the base of the walls. Clean gutters at least twice a year, and make sure downspouts carry water several feet away from the foundation. Splash blocks or extensions help prevent water from pooling against the structure.
Manage Water Inside the Walls
Siding is never fully waterproof. Water gets behind it, which is why a well-built wall plans for that moisture and drains it away. Building scientists describe a functional wall as one that deflects water, drains it quickly, and then dries. In practice that means a weather-resistive layer behind the surface, flashing above and below openings, and a small air gap that lets water escape.
The surface you choose affects how well this works. Each type of cladding handles water differently, so the detailing around it needs to match the material. Timber boards, for example, need gaps or drainage grooves on the back, and they should be finished on all sides, including the ends.
For a deeper look at how professionals approach this, the APA moisture mitigation guidance explains how foundations, walls, and roofs should be designed to resist water intrusion. Key habits include:
- Lap building wrap and underlayment from the bottom up so water always flows outward.
- Seal around windows, doors, and penetrations with proper flashing, not just sealant.
- Keep at least a small ventilated gap between siding and sheathing where possible.
- Check exterior paint or stain at trim, corners, and joints, since these fail first.
Protect Decks and Ground-Level Wood
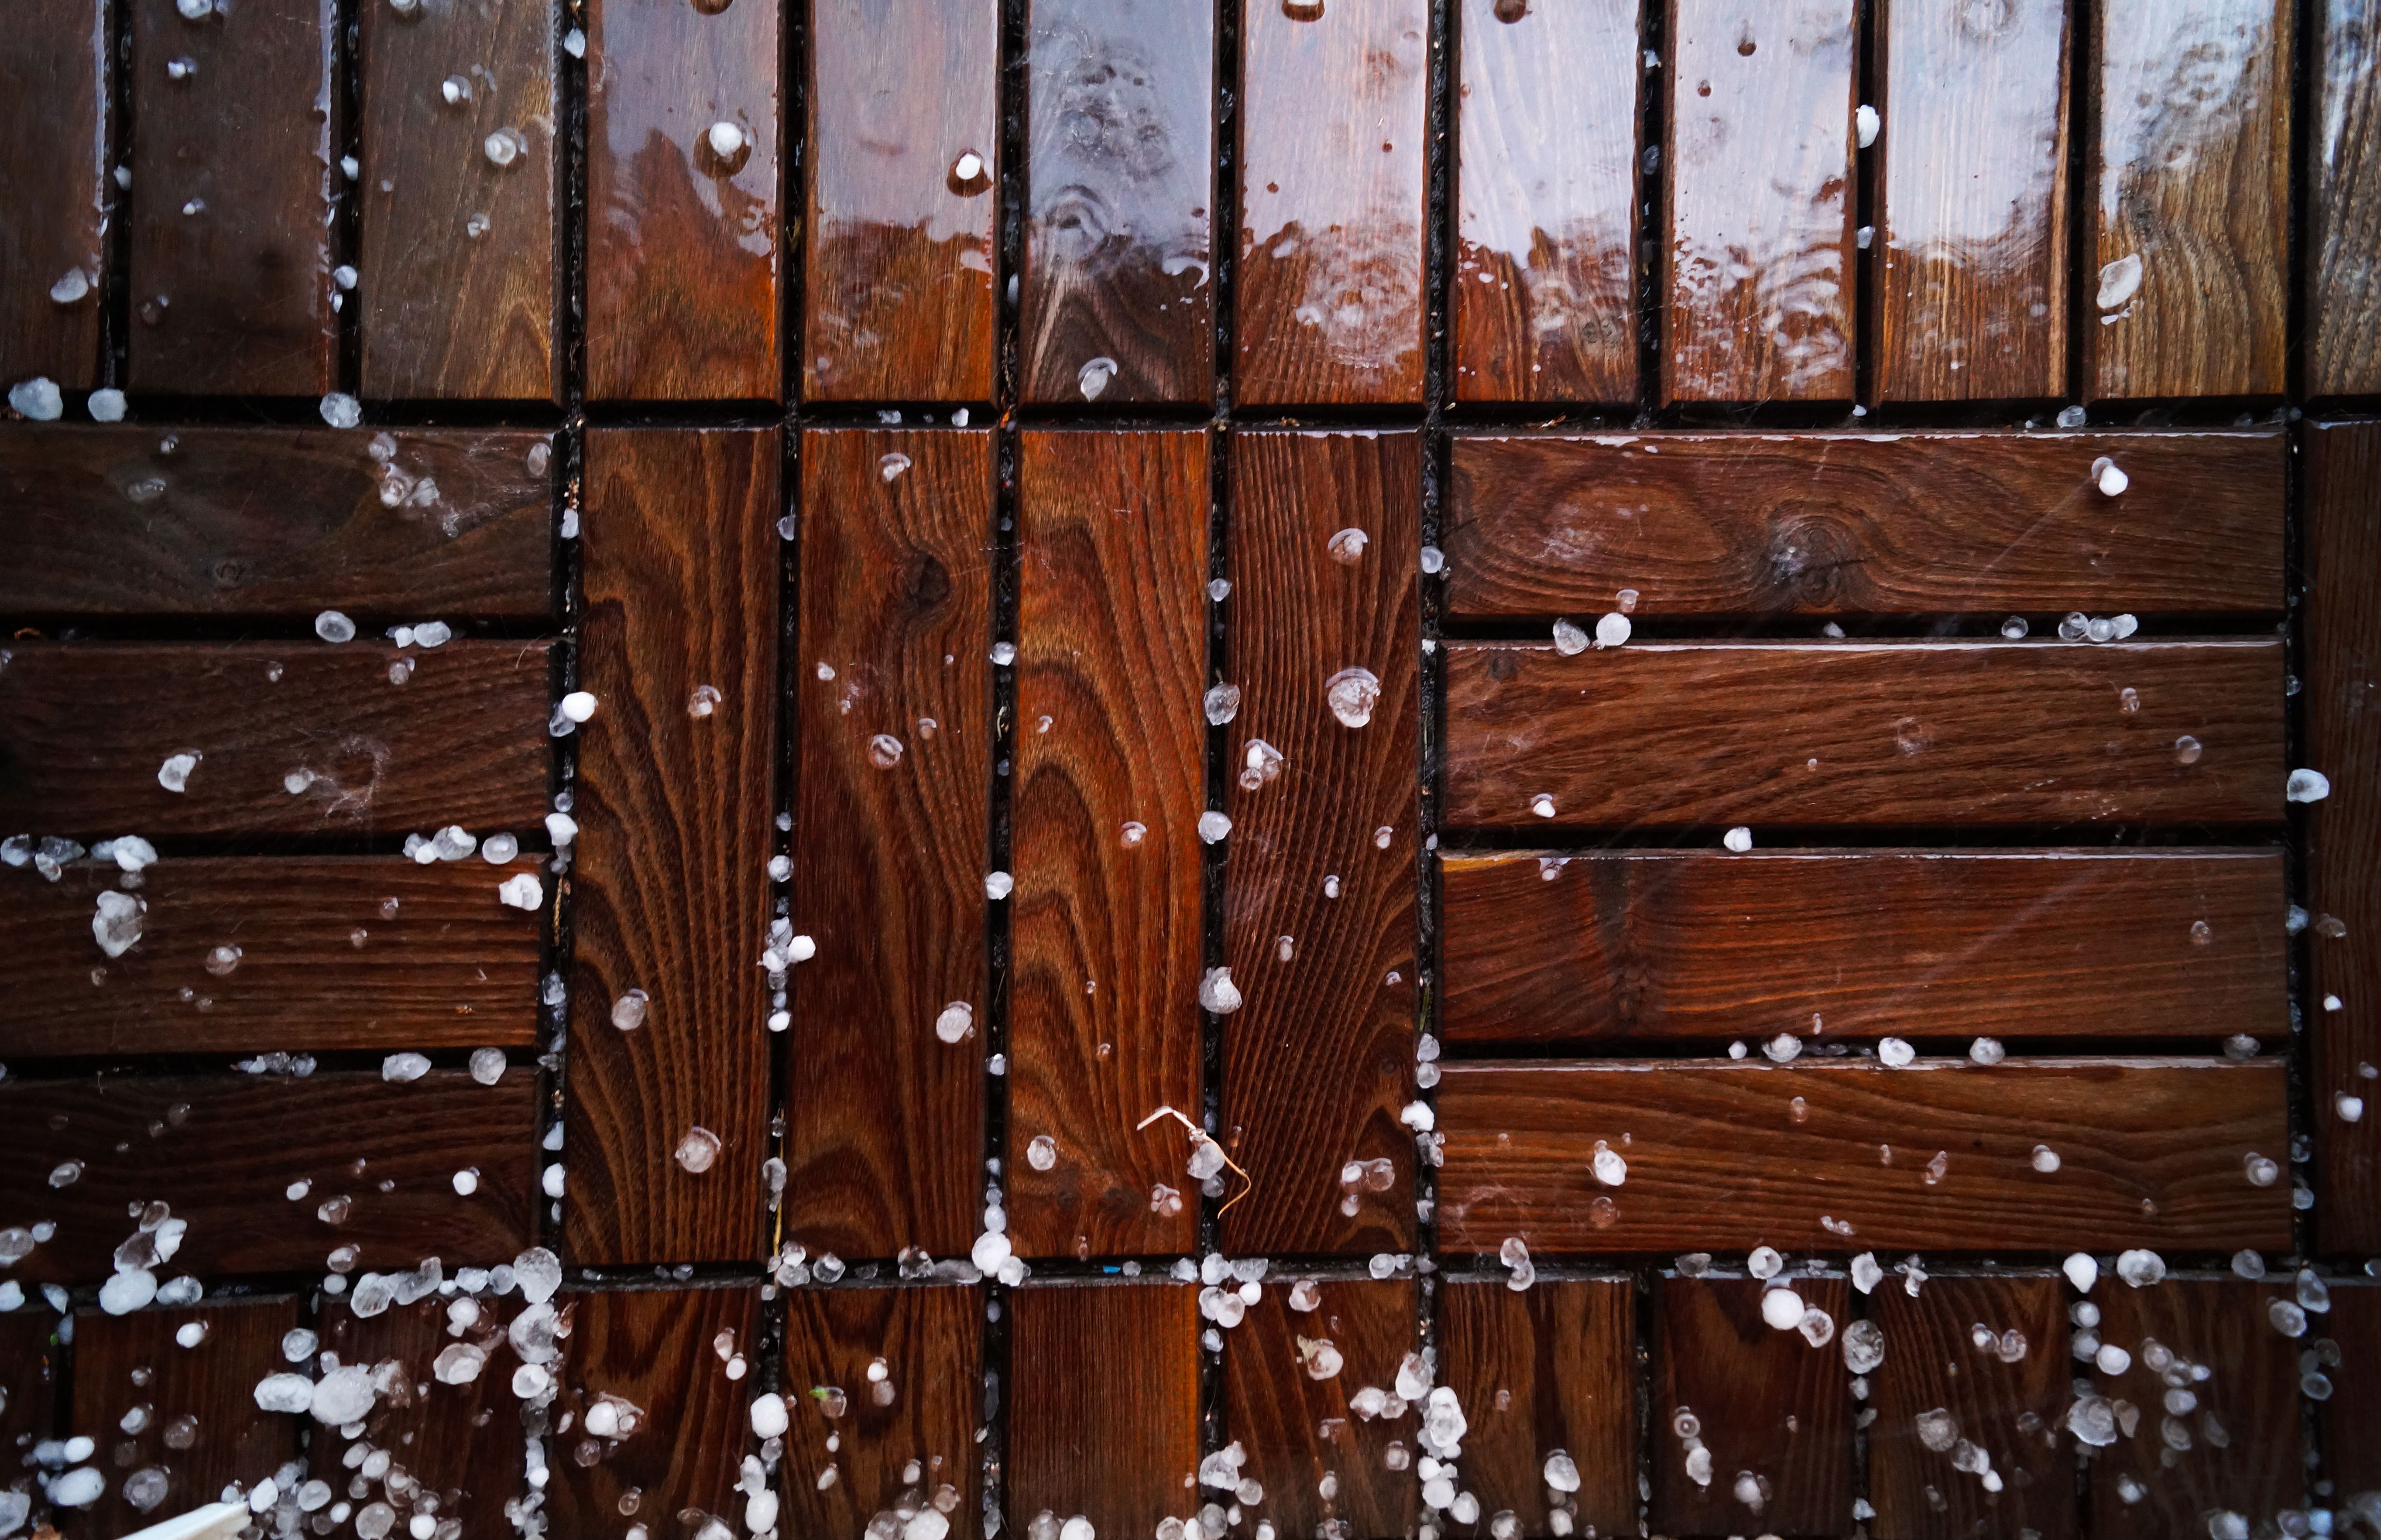
Decks and the lowest sections of any wooden structure stay wet the longest. Rainwater pools in boards, snow melts into cracks, and soil moisture wicks upward into posts. Rot usually starts at the end grain, at joints, and where boards touch each other or the ground.
Practical steps include:
- Set posts on raised bases or metal standoffs so the wood never sits in soil or standing water.
- Leave small gaps between deck boards so water can drain and the surface can dry.
- Seal end grain and cut edges before installation, since these absorb water fastest.
- Keep planters, hot tubs, and downspouts away from wood surfaces, or provide drainage underneath them.
- Clear leaves and debris from the spaces between boards, since they hold moisture against the wood.
Choose and Maintain Protective Coatings
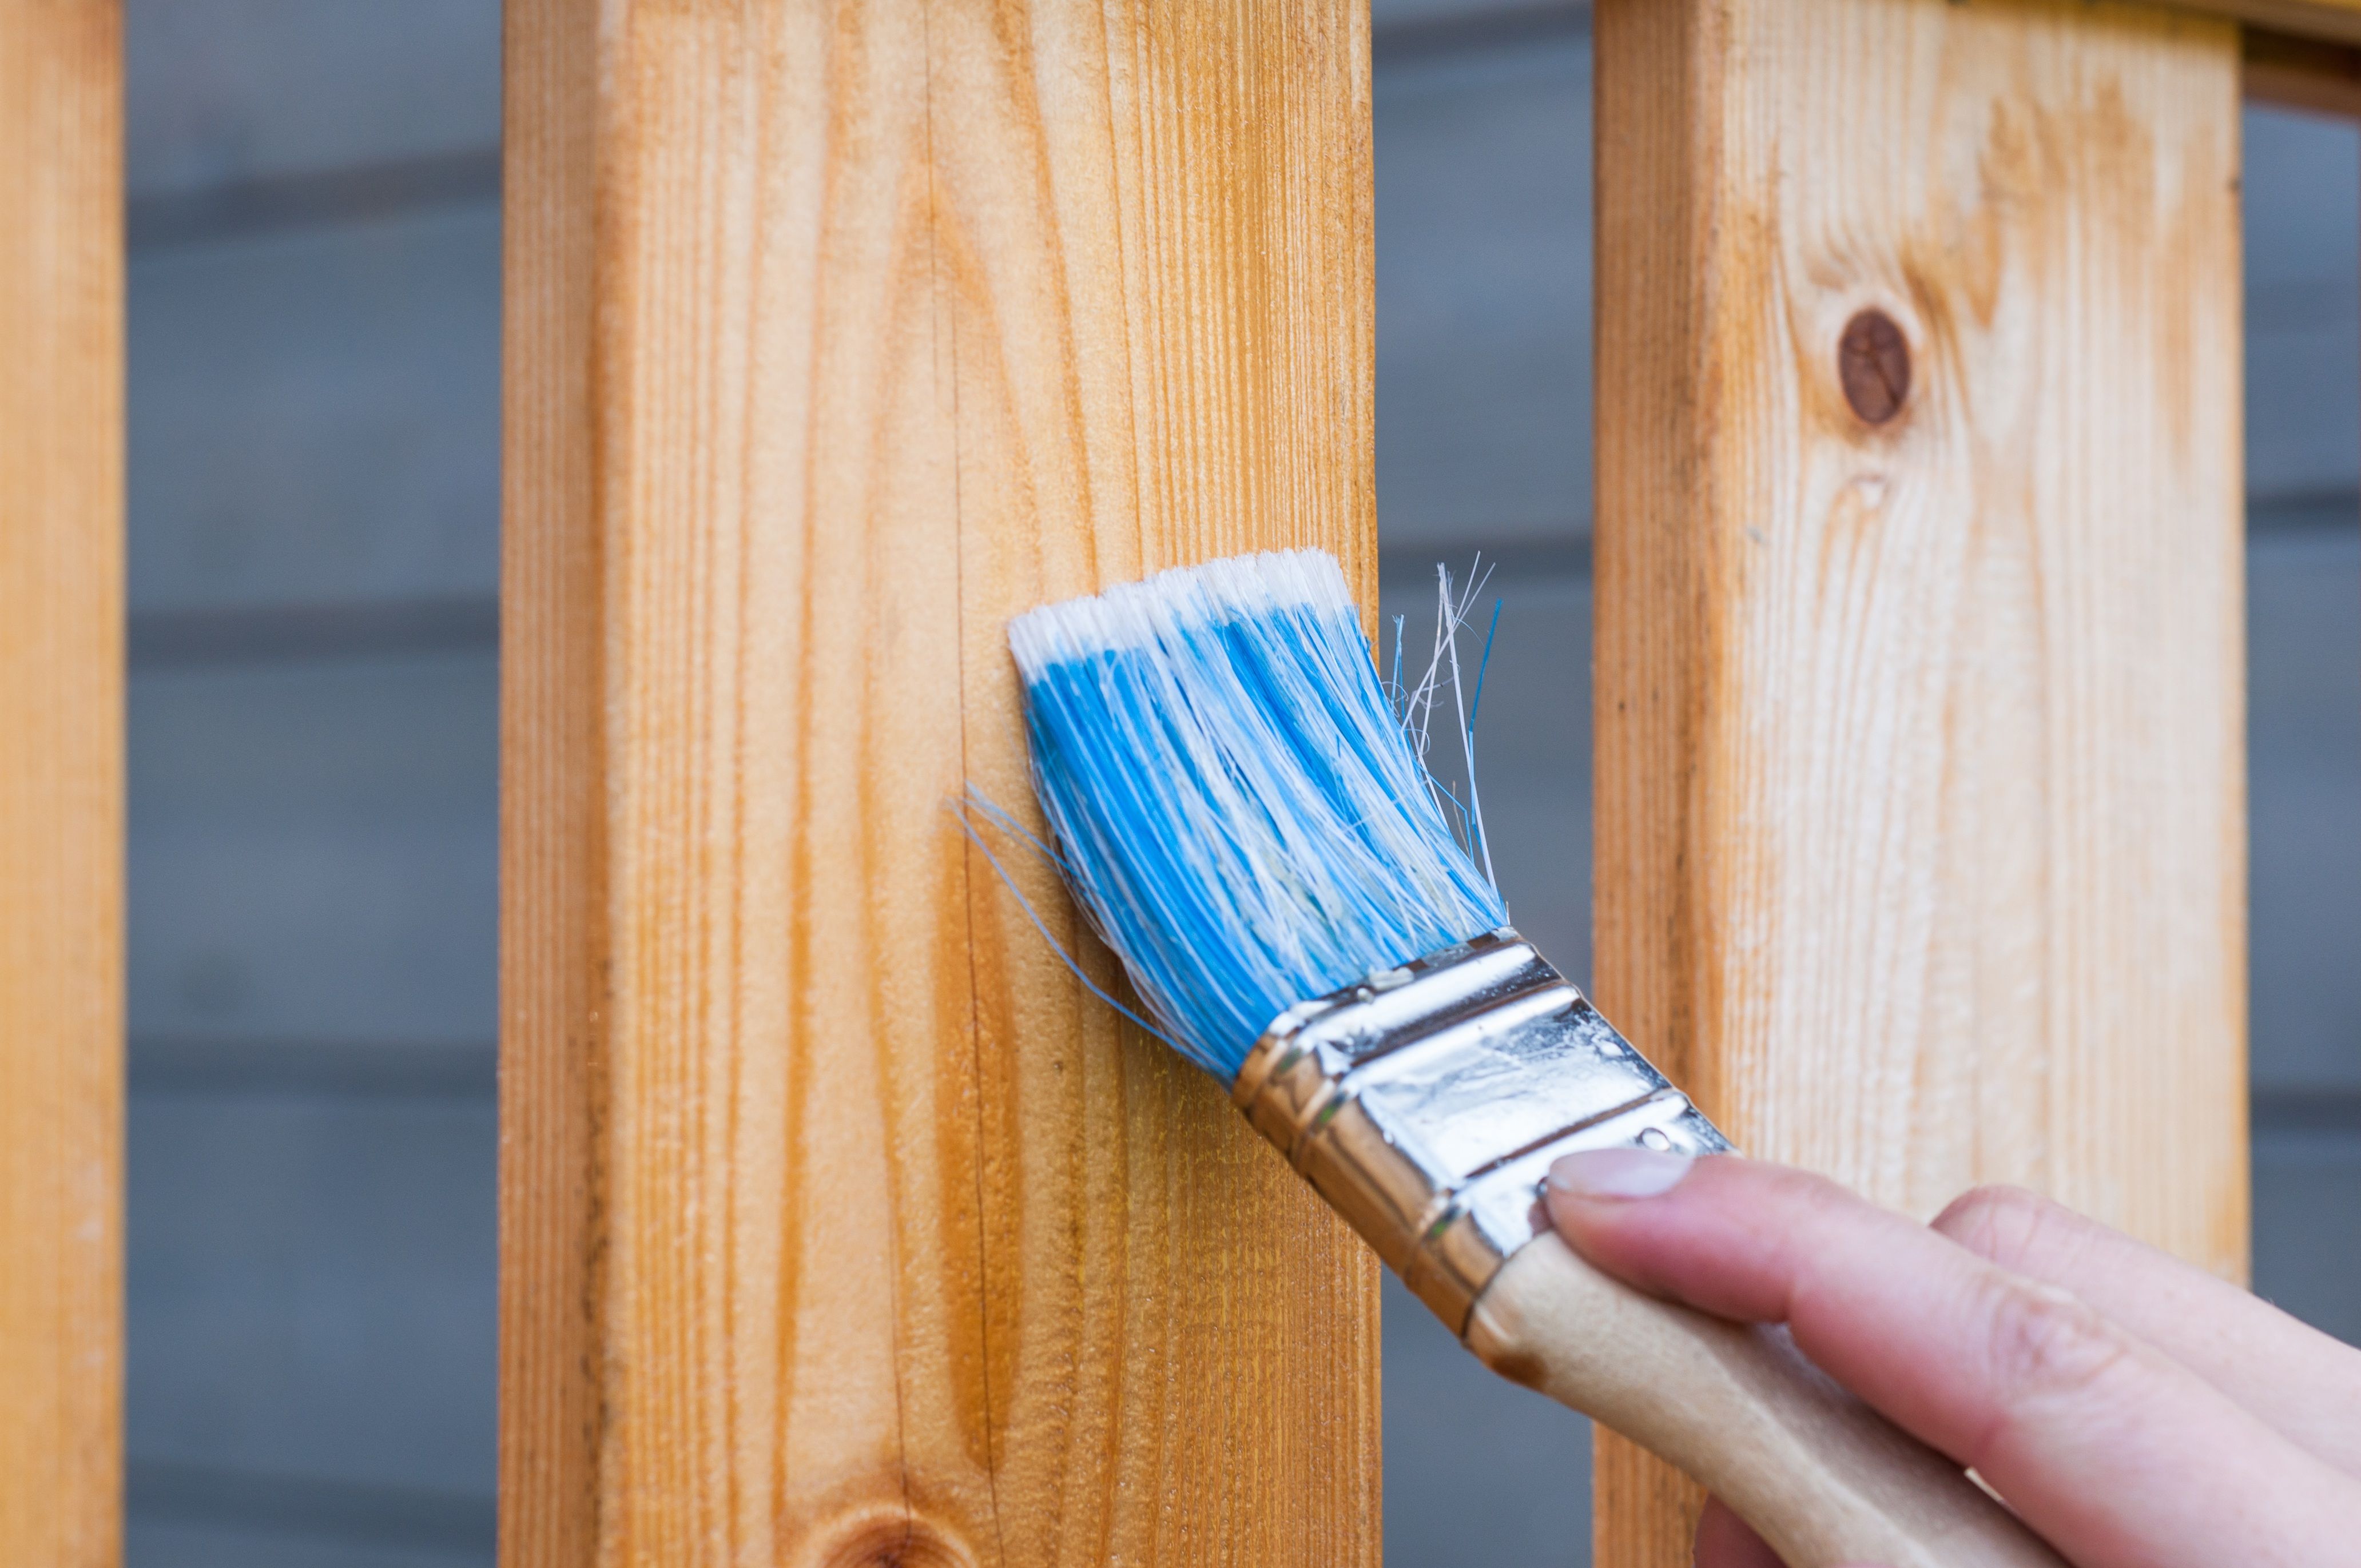
A quality exterior finish is one of the most cost-effective ways to protect wood. Paints form a film on the surface, while penetrating stains and water-repellent preservatives soak into the grain. Film finishes can look sharp for longer, but they trap moisture if the wood underneath is already wet. Penetrating finishes need more frequent reapplication, but they let the wood breathe.
Surface preparation determines how long any coating lasts. Clean away mildew, sand weathered or flaking areas, and let the wood dry fully before applying new product. Give extra attention to the bottom edges of fence pickets, door frames, and window sills, where water sits longest.
- Inspect finishes once a year, especially on south and west faces that take the most sun and rain.
- Recoat when water stops beading on the surface, not on a fixed calendar alone.
- Follow the manufacturer’s drying time before recoating, particularly in humid weather.
Use Temporary Covers During Storms and Projects
Permanent protection does not cover every situation. During renovations, roof repairs, or long wet spells, temporary covers keep rain off exposed framing and freshly installed materials. Breathable tarps or sheeting work well because they stop bulk water without trapping moisture inside. Waterproof plastic sheeting that seals tightly can cause condensation if air cannot escape.
Secure covers so wind cannot tear them loose, and keep them clear of the surface so air can circulate underneath. Remove them as soon as the weather allows, so the structure can dry out.
Prepare for Snow, Ice, and Freeze-Thaw Cycles
Winter adds two threats: heavy snow loads and repeated freezing and thawing. Snow that sits on a roof for long periods adds weight and holds moisture against roofing materials. Ice dams form when melted snow refreezes at the eaves, pushing water under shingles and into the attic or wall space.
Before the cold season, take these steps:
- Clear heavy snow from roofs and walkways when it is safe to do so.
- Check attic ventilation and insulation, since poor airflow contributes to ice dams.
- Fill cracks in masonry, concrete, and caulk joints before water can freeze inside them.
- Keep vents and crawl space openings clear of snow and debris.
Protection Methods at a Glance
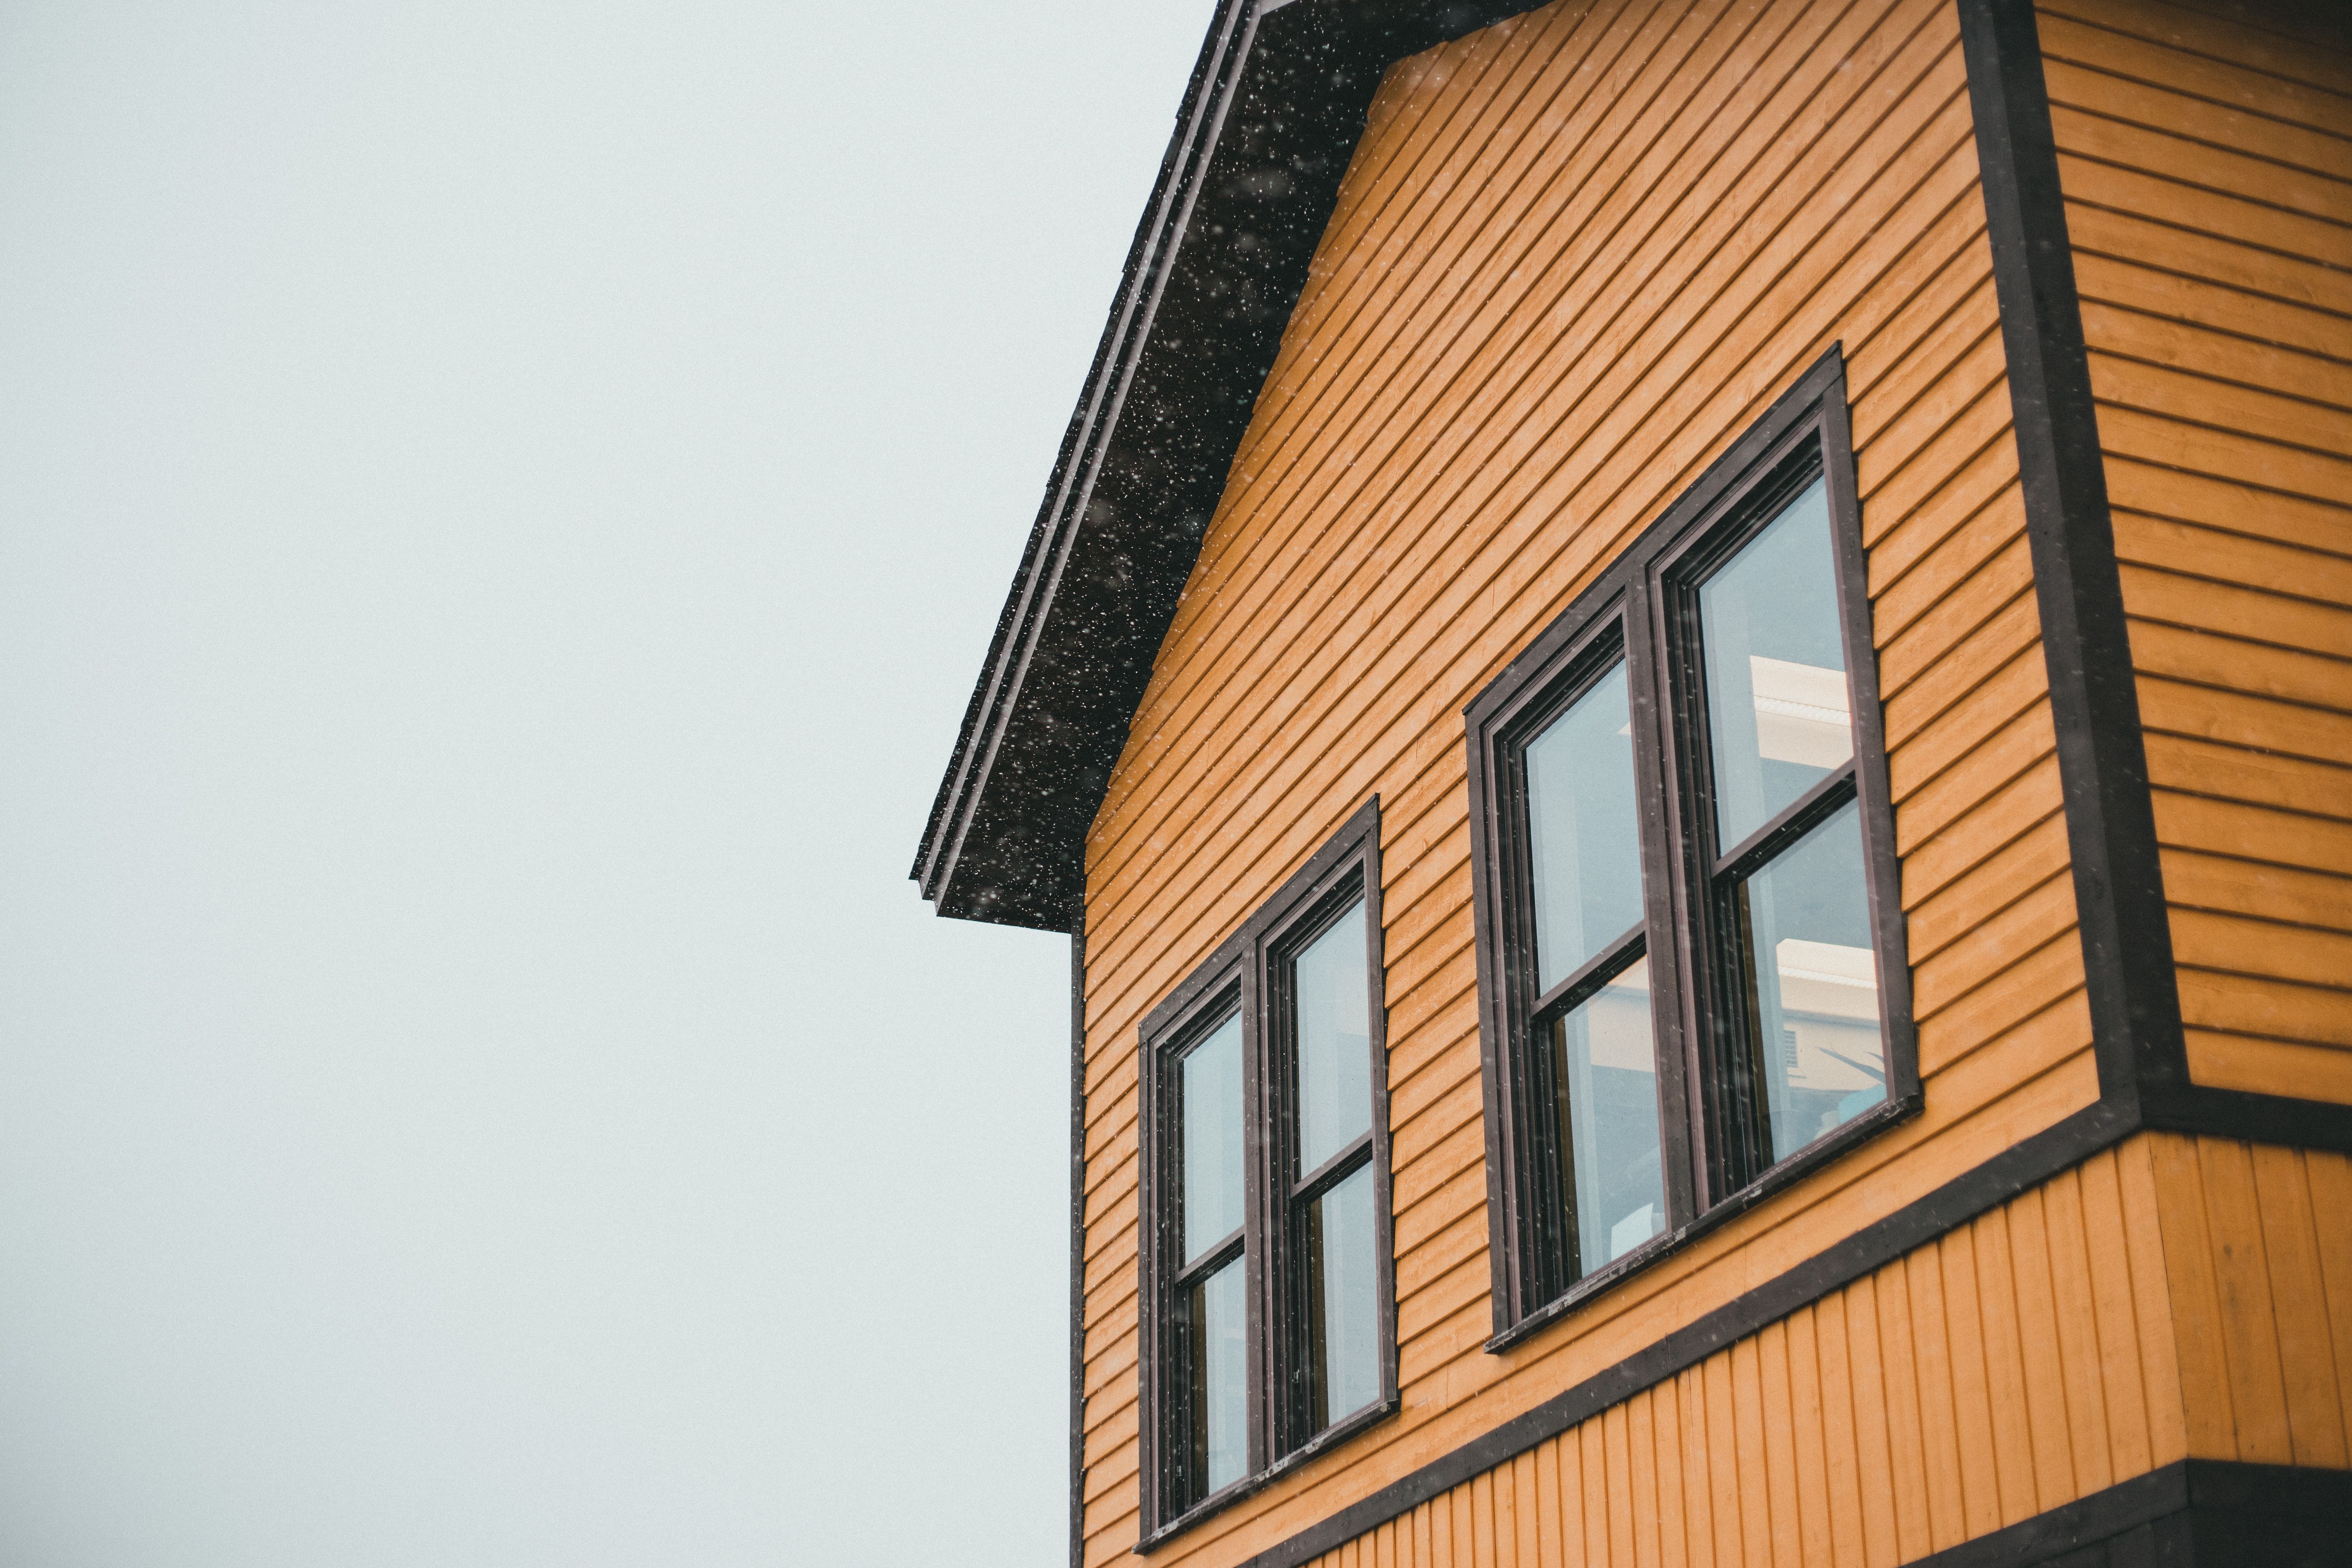
The table below summarizes the main risks, protection methods, and typical inspection intervals for common outdoor building elements. Intervals are general guidance and should be adjusted for your climate, exposure, and the products you use.
Frequently Asked Questions
How often should I seal an outdoor wooden building?
Most penetrating water-repellent finishes need reapplication every one to three years, depending on exposure. Check for water beading as a guide: when water soaks in rather than beading, it is time to recoat.
Should I use plastic sheeting to protect a building?
Only for short periods. Fully sealed plastic can trap condensation against the surface, so breathable covers are usually a safer choice for longer protection.
What causes most moisture damage in outdoor buildings?
Usually it is a combination of small roof or flashing leaks, blocked gutters, and wood that sits in contact with soil or standing water for long periods.
A Practical Order of Work
If you are starting from scratch with an older building, work in this sequence so each step protects the next one:
- Fix roof leaks and clean gutters so less water reaches the walls.
- Raise or protect any wood that touches soil, concrete, or standing water.
- Repair flashing, caulk, and trim at openings and joints.
- Let everything dry thoroughly, then apply a suitable finish.
- Set a simple inspection calendar and note what you check each time.
Protecting an outdoor building is less about one perfect product and more about keeping water moving away from the structure and giving wood a chance to dry. A few hours of checks each season will usually prevent the costly repairs that come from rot, rust, and mold.